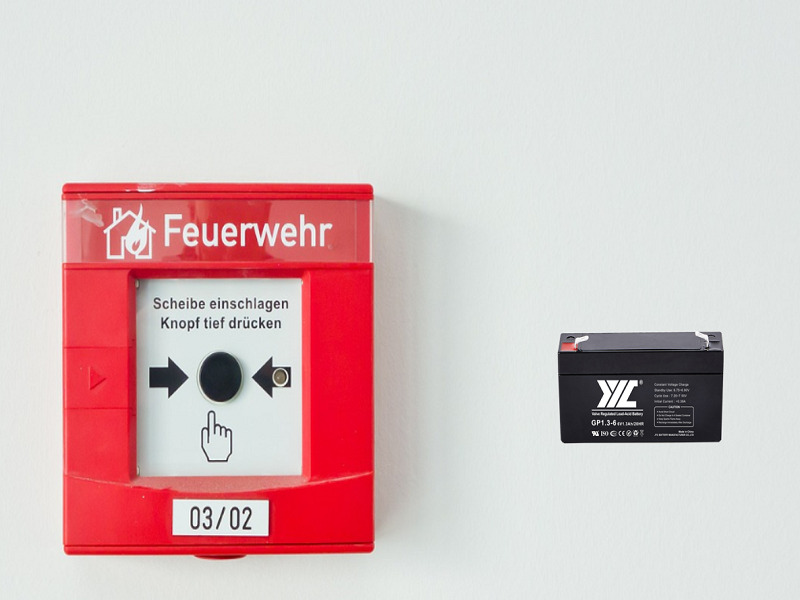
Lead-acid batteries are often used in applications that require large capacitance and stable power supply, such as fire alarms, emergency lighting equipment, and UPS (uninterruptible power supply) systems, etc. They are able to provide higher current output and longer backup power time.
Among them, the fire alarm is an important safety device in our homes and offices. It can send out an alarm in time when a fire occurs to protect our lives and property. However, in order to ensure that the fire alarm can work properly, we need to check and replace its batteries regularly. Here’s a simple step-by-step guide on how to change your fire alarm battery.
Step 1: Confirm The Alarm Type
Different types of fire alarms use different types of batteries, so before replacing batteries, you need to confirm your fire alarm model and the type of battery that can be used. Typically, the required battery specifications and model numbers are indicated on the fire alarm itself.
Step 2: Purchase The Appropriate Batteries
Once you’ve confirmed the type of battery your fire alarm needs, go shopping for a new battery of the proper size. When purchasing, try to choose a battery with reliable quality to ensure long-term reliability.
Step 3: Turn Off The Alarm Power
Make sure to turn off the power to the fire alarm before replacing the batteries. You can turn off the power by removing the cover on the alarm or by pressing a specific button. If you are not sure how to turn off the power, you can refer to the instruction manual of the fire alarm.
Step 4: Turn on the alarm
Open the cover of the fire alarm to gain access to the battery compartment. Some fire alarms have the battery compartment on the front and the cover can be opened, while others have the battery compartment on the back and you may need to use a screwdriver or other tool to open the cover.
Step 5: Remove the Old Battery
Look closely at the battery compartment to locate the old battery. Before removing the old battery, pay attention to the positive and negative terminals of the battery to ensure proper operation. Usually, the battery will have a logo showing the positive and negative polarity to help you install the new battery correctly.
Step 6: Install a New Battery
Insert the new battery into the battery compartment, making sure the positive and negative terminals are properly aligned. Depending on the battery’s specifications, it may be necessary to push or rotate the battery to install it properly. When installing the battery, make sure the insertion is firm to avoid loose battery or poor contact.
Step 7: Close the Alarm Cover
After installing the new battery, close the battery compartment cover of the fire alarm. Make sure the cover is completely closed and securely in place to avoid any unintended exposure or tampering.
Step 8: Test the Alarm
Once the battery is replaced and the alarm is closed, reactivate the power to the fire alarm. Test the alarm by pressing the designated test button or following the instructions provided by the manufacturer. Listen for the alarm sound to confirm that the battery replacement was successful and the fire alarm is functioning correctly.
By following these steps, you can confidently change the battery in your fire alarm and ensure that it remains in proper working order. Regular battery maintenance and replacements will help ensure that your fire alarm is always ready to provide the necessary protection in case of a fire emergency.